Setting up your new iPhone in Australia is easiest when you have a wi-fi network, your Apple Account details, and your old phone or previous device nearby. This guide covers Quick Start, iCloud, and Move to iOS so you can transfer your data to your new iPhone safely. If you need a hand, you can contact Aussie Mobile Phone Repairs or book online for assistance.


Overview and when to use this method
Quick Start helps you set up your new iPhone quickly by copying settings and content from another iPhone or iPad. Use Quick Start when you still have your old device, it turns on, and you can keep your devices near each other.
Quick Start is ideal for iPhone models like iPhone 14 and iPhone 17 when you want to transfer your data and apps with minimal tapping. If you do not have another device, skip to the options for set up without another device.
Apple Support reference: Use Quick Start to transfer data to a new iPhone or iPad
Prerequisites and tools
Your new iPhone needs stable wi-fi, enough battery, and access to your mobile network for activation. Have your Apple Account email ready, and enter your password when prompted.
Keep both phones plugged into a power source until the data migration process has finished. If you use a physical SIM card, you may need a SIM replacement or repair service before setup if the card is damaged.
If you use esim, be ready to activate your esim and confirm you have data service on your plan.
Quick Start works best when both devices run a recent version of iOS, the old device turns on and can unlock, Bluetooth is enabled on both devices, and the new iPhone has not finished setup yet.
Step by step using Quick Start
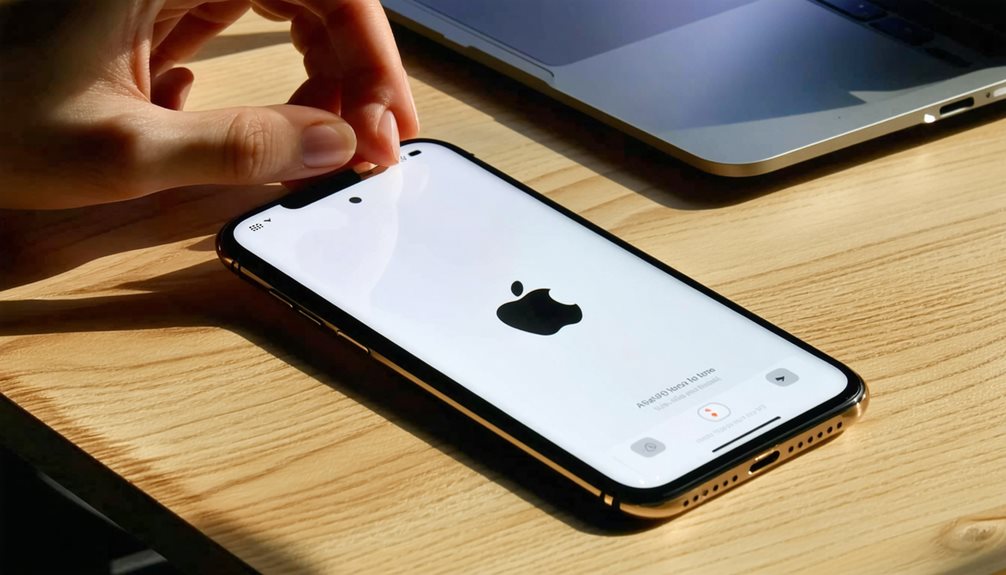
Quick Start on iPhone guides you through prompts to automatically set up your new device. Use Quick Start when your old phone is nearby and you want to restore or transfer your data.
- Turn on the new device and choose language and region, then follow the onscreen instructions.
- Place the old phone close and wait for the Quick Start prompt, then confirm the pairing.
- Sign in with your Apple details and create a six-digit passcode, then set up face id when offered.
- Choose restore or transfer your data and apps, then keep your devices near and connected to wi-fi.
- Finish settings like Siri, set up Screen Time, and Apple Pay if you want it.
What transfers and what may need extra steps
- Usually transfers: apps and app data, contacts, photos, messages, and Apple Account settings.
- May need you to sign in again: banking apps, email accounts, and apps that use two-factor authentication.


Alternative ways to set up your new iPhone
If Quick Start is not available, you can set up manually or set up without another device. These options still let you sign in with your Apple Account and build the phone from scratch.
To restore from icloud backup, connect to wi-fi, sign in with your Apple Account, and pick the most relevant icloud backup. If you want a clean start, set up iPhone as new and add apps and data later.
After setup, go to Settings and turn on automatic updates so iOS can keep your new device current.
Transfer from an Android device with Move to iOS
Move to iOS lets you transfer data from an android device to iOS during setup. Use it when switching from Android and you want to move key items like contacts and photos.
On your Android device, download the move to ios app and keep both devices on the same wi-fi network if possible. On the iPhone setup screen, choose to move data from Android and follow the onscreen instructions.
Apple Support reference: Move from Android to iPhone or iPad
Troubleshooting and common failure modes
If Quick Start cannot find devices near, turn on Bluetooth on both phones and keep them unlocked. If wi-fi drops out, rejoin the wi-fi network and keep the phone close to the router.
For esim activation issues, connect to wi-fi first, then retry activation, or insert a physical sim card if you have one. If you cannot activate your iPhone or ipad, it may be an account, network, or device issue. In that case, you can contact our team for help diagnosing activation or network faults.
Safety and privacy basics
Your passcode and Face ID protect your iPhone and reduce the risk of account takeovers. Set up face id, enable iCloud for backups, and confirm your Apple Account recovery options while setting up your device.


What does not apply and common misconceptions
This guide does not cover advanced business device management, corporate profiles, or fleet enrolment. Do not erase your iPhone or old device until you have confirmed your data to your new iPhone is complete.
Decision guide choose restore, transfer, or start fresh
- Quick Start transfer your data is best when your old iPhone works, can unlock, and you want your settings copied directly.
- iCloud backup is best when your old phone is lost, damaged, unreliable, or you cannot keep both devices together.
- Set up manually is best when you want a clean start and plan to reinstall apps selectively.
When to get help and what to bring
If you cannot activate your iPhone or ipad, cannot transfer data after multiple attempts, or have esim and mobile network problems, it can help to see a repair specialist. Bring your new device, your old phone, your Apple Account details, and any SIM card or esim information.
You can also book a setup or activation service online if you prefer in-person assistance.
FAQs
How long should I keep my iPhone plugged in during transfer
Keep your devices plugged into a power source until the data migration process has finished.
Can I set up without another device and still move my data later
Yes. You can set up without another device, then restore from icloud backup or move specific items later.
What if my eSIM will not activate
Start with wi-fi, then retry activate your esim. If it keeps failing, check your plan has data service with your provider.
Summary and next step
- Use Quick Start to automatically set up your new iPhone when your old device is available.
- Prefer wi-fi, keep devices near, and stay plugged into a power source until the data migration process has finished.
- Choose between iCloud backup, transfer your data, or set up manually based on reliability and how clean you want the new device.
If you have trouble setting up, activating, transferring data, replacing a sim card, repairing damage before setup, or need help after erase your iPhone, contact Aussie Mobile Phone Repairs.


